
Understand Location cards in D365 Business Central
Locations are places such as warehouses where you buy, store, or sell items. Business Central uses locations to help keep track of inventory in both simple and complex warehouse processes.
You can then create document lines for a specific location, view availability by location, and transfer inventory between locations. To learn more, go to Manage Inventory.
Location cards in D365 Business Central
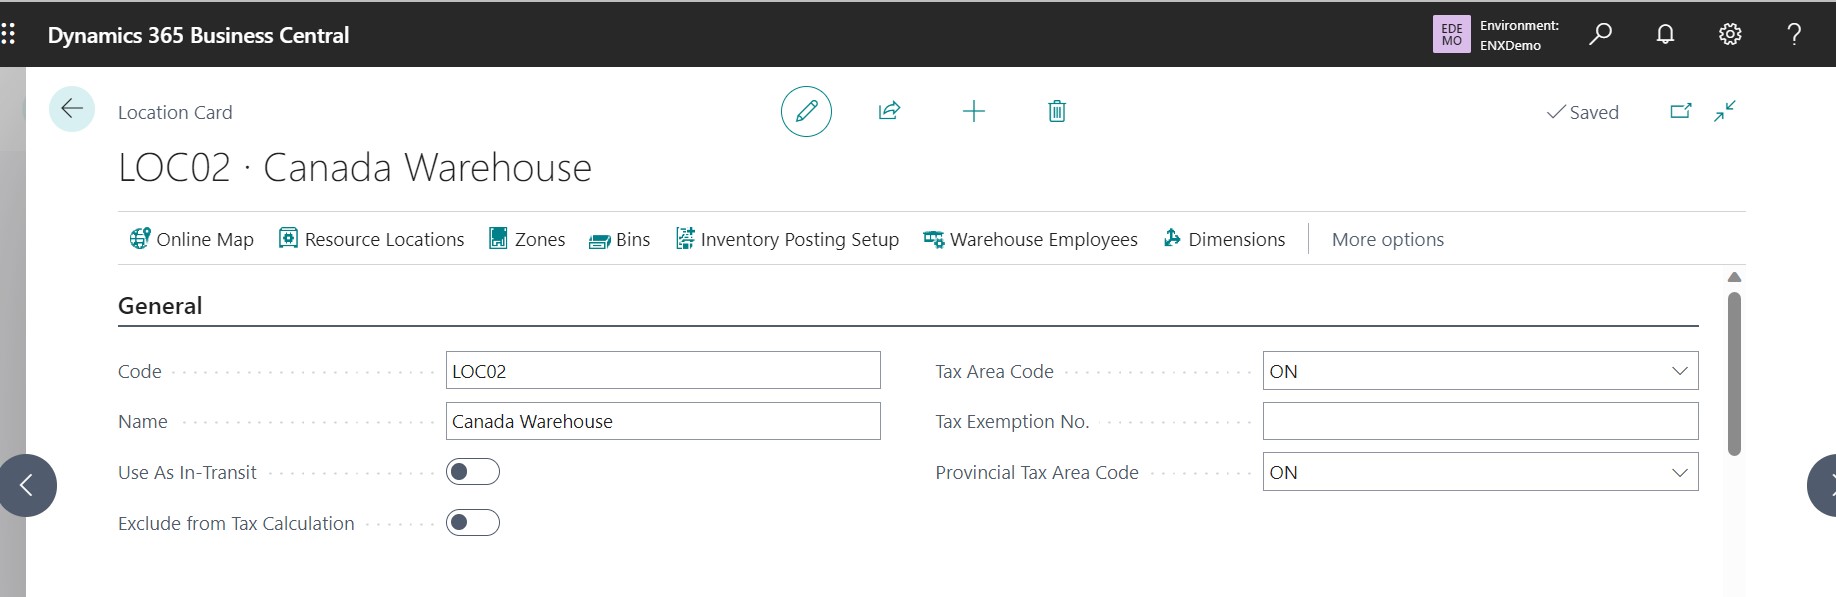
You specify information about a location, such as a warehouse or distribution center, on the Location Card page. You give each location a name and a code that represents the location. You can then enter the location code in other parts of the program when you want to record transactions for a given location.
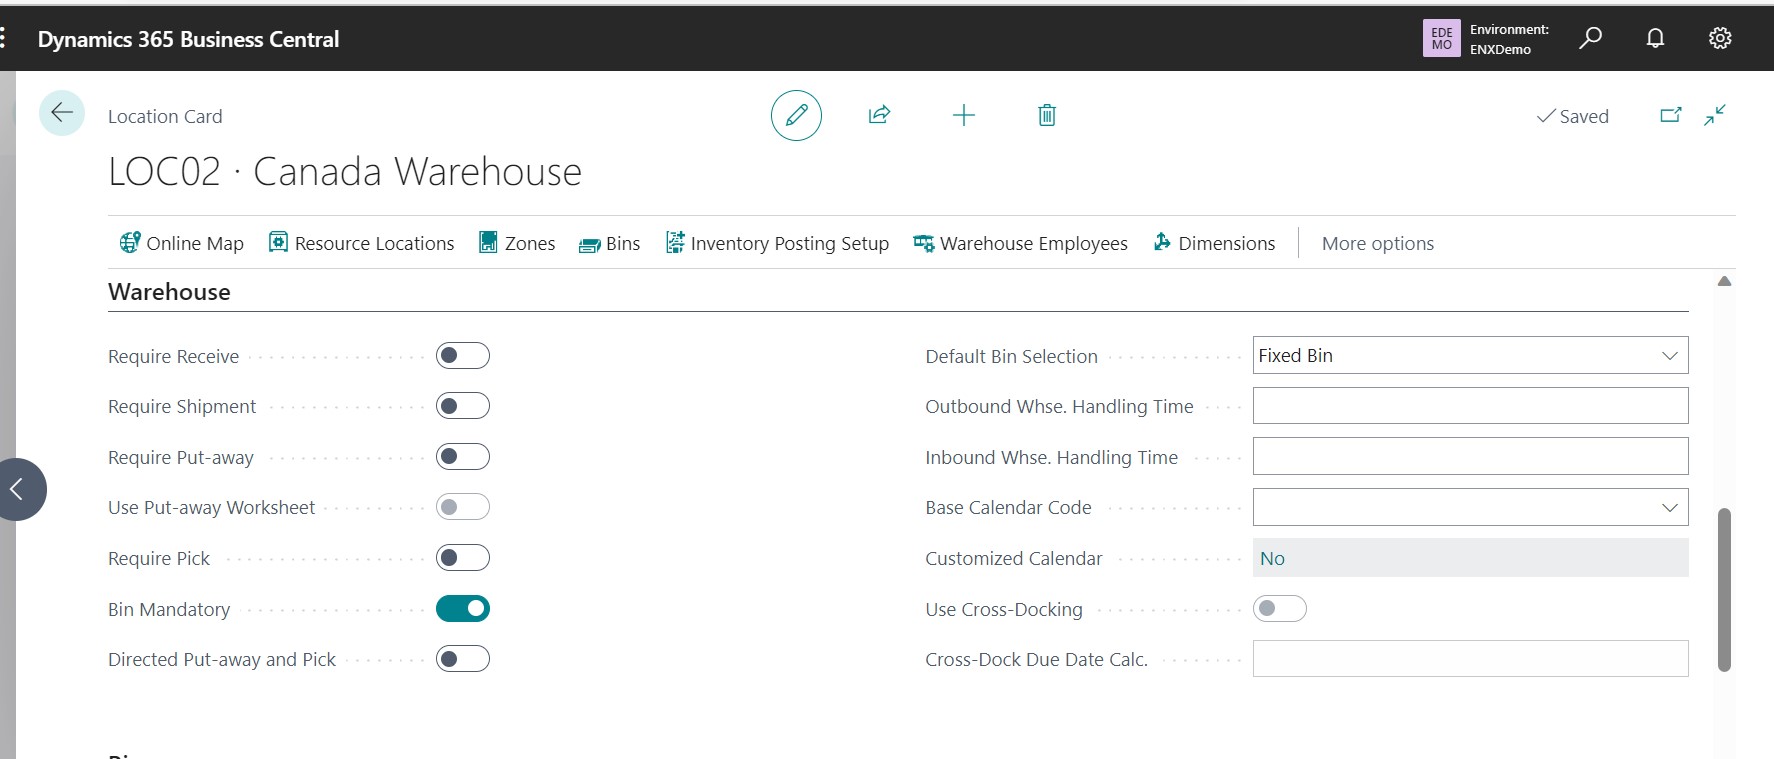
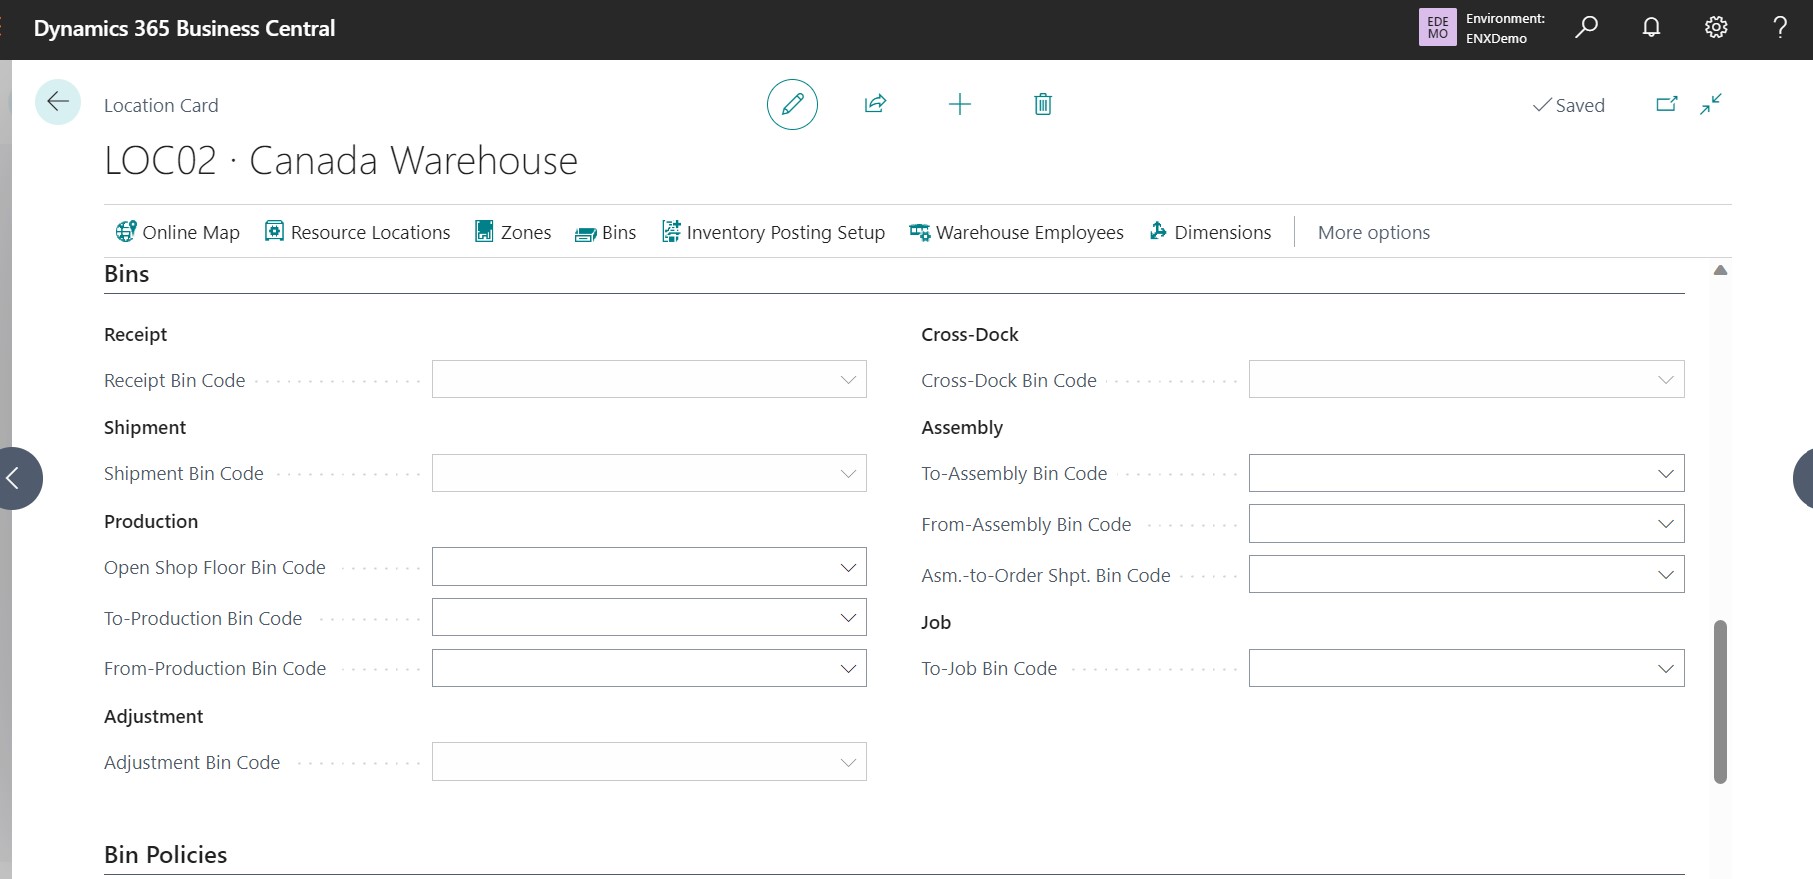
You can enter information about bins and warehouse policies for each location. Based on your warehouse policies, you can use the options on the Bins FastTab to specify the bins to use by default for transactions. If you’re using directed put-away and pick, the options on the Bin Policies FastTab let you define how to use advanced warehousing features.
Some option fields depend on settings in the Location Card page to restrict unsupported setup combinations.
Choose the Zones or Bins actions to view information about zones and bins that are defined for the location.
To set up a location
- Choose the Lightbulb that opens the Tell Me feature. icon, enter Locations, and then choose the related link.
- Choose the New action.
- On the Location Card page, fill in the fields as necessary. Hover over a field to read a short description.
- Repeat steps 2 and 3 for every location where you want to keep inventory.
you can change the configuration of a location as long as it doesn’t have item ledger entries.
If you have multiple locations, you can define transfer routes between locations. To learn more about transfer routes, go to To create a transfer route.
To create a transfer route
- Choose the Lightbulb that opens the Tell Me feature. icon, enter Transfer Routes, and then choose the related link.
- Choose the New action.
- On the Location Card page, fill in the fields as necessary. Hover over a field to read a short description.
You can now transfer inventory items between two locations. To learn more about transfers, go to Transfer Inventory Between Locations.
Bins
Bins represent the basic warehouse structure and can suggest where to put items. Your bins can have contents, or be floating bins without specific contents.
To use the bin functionality at a location, on the Location Card page, on the Warehouse FastTab, turn on the Bin Mandatory toggle. You can design the item flow at the location by specifying bin codes in the fields for the warehouse processes on the Bins and Bin Policies FastTabs.
Zones
If you want to structure your bins under zones, you can do that in the Zones page. When you assign a zone to bins, Business Central copies information from the zone to the bins. You can also choose to set up one zone and use bins alone to organize your warehouse. To learn more about zones, go to Setting Up Warehouse Management.

Default Dimensions for Locations
Dimensions are values that categorize entries so you can track and analyze them using various reporting tools. For example, dimensions can indicate the department or project an entry came from. Having default dimensions helps people avoid making mistakes and having to enter dimensions manually on the transaction level if all goods come from a single location and department.
You set default dimensions for a location on the Location Card page by choosing Dimensions. Afterward, the location’s default dimensions are assigned to the following documents when you choose the location on a line.
-
- Transfer orders
- Physical inventory orders
- Inventory shipments
- Inventory receipts
- Item journals
If needed, you can delete or change the dimension on the line. In the Value Posting field, you can require people to specify dimensions for locations before they can post an entry. If you want to allow people to choose only certain dimension values, you can specify the values in the Allowed Values Filter field. You can also include location dimension values on the Default Dimension Priorities page, and for combinations of priority and dimension rules on the Dimension Combinations page.
Because transfer order documents and reclassification journals deal with more than one location, the order in which you enter data is important. Default dimensions are copied from the last location field (the in-transit location is ignored).


